Where are the masterpieces inside SFMOMA?

Sequence
Artist: Richard Serra
This is one of SFMOMA’s defining works: a massive walk-through steel installation that feels more like architecture than sculpture. It’s worth slowing down for the way the curved walls change your balance, sightlines, and sense of scale as you move through it. Most visitors look once from the edge, take a photo, and keep going, but the real experience is inside the turns.
Where to find it: Just off the main lobby on Floor 1.
The Living Wall
Designer: Patrick Blanc
The Living Wall is a 30-by-150-foot planted installation with thousands of California-native species, and it changes the pace of the museum more than almost any gallery. It’s one of the best places to pause mid-visit, especially if you’ve been moving quickly through the Fisher galleries. Most visitors register it as a backdrop, but the seasonal color changes and quiet seating are part of the experience.
Where to find it: Third-floor patio area beside the indoor galleries.
Calder’s mobiles in the Motion Lab
Artist: Alexander Calder
This gallery feels lighter and more playful than many of the denser modern-art rooms, which is exactly why it lands so well in the middle of a long visit. The mobiles respond to air movement, so even subtle shifts in the room can make them feel newly alive. Most people admire the color and move on, but the small motion changes are what make the room memorable.
Where to find it: Upper galleries in the dedicated Motion Lab area.
Fisher Collection galleries
Collection: Doris and Donald Fisher Collection
If you want the clearest sense of SFMOMA’s depth, spend real time here rather than treating it as a checklist of famous names. These rooms hold some of the museum’s strongest painting and sculpture, including major postwar and contemporary works that deserve longer than a quick label glance. What people miss is that the installation itself matters: some of the best rooms are calmer on the upper floors than the more crowded signature stops below.
Where to find it: Main upper-floor galleries, especially around Floor 5.
Guglie
Artist: Tony Cragg
Guglie looks playful at first, but the closer you get, the stranger and smarter it becomes. The tower-like forms are built from industrial parts, which makes the work feel both improvised and highly controlled. Most visitors see it on the way to something else, yet this is one of the museum’s best examples of contemporary sculpture rewarding a second, slower look.
Where to find it: Near the Oculus-side galleries on Floor 5.
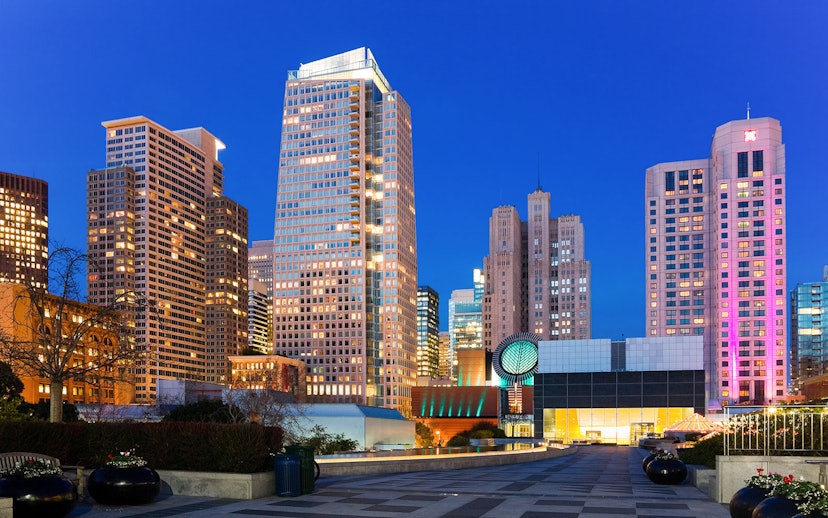
Outdoor sculpture terrace
Type: Open-air terrace and sculpture display
This is where SFMOMA stops feeling like a sealed museum and opens back out to the city. You get sculpture, skyline views, light, seating, and a needed visual reset after dense gallery rooms. Many people skip it because they assume the upper floors are just more indoor galleries, but late-day light here is one of the best moments in the building.
Where to find it: East terrace on Floor 7.